Pigeon and the CODESYS - Getting started
1. Introduction
CODESYS is a software platform for industrial automation technology. The platform is based on the CODESYS Development System, an IEC 61131-3 programming tool, supporting five PLC programming languages (Ladder Diagram, Structured Text, Instruction List, Function Block Diagram and Sequential Function Chart). This page aims at presenting first steps with CODESYS and Pigeon computers.
2. Installing CODESYS on Windows
You can download CODESYS Development System at Codesys Store. You need to register to download, but the CODESYS Development System is free. Pigeon computers are supported by CODESYS Development System since version 3.5.11.0.
After download, run the installer accepting all defaults.
3. Installing the packages
First, download CODESYS Control for Raspberry Pi SL from Codesys Store. Pigeon computers are supported by CODESYS Control for Raspberry Pi SL since version 3.5.11.0.
Next download CODESYS Control for Pigeon. CODESYS Control for Pigeon contains support for the Pigeon computers family (RB100, RB300, RB100-CM3, RB300-CM3). You can download CODESYS Control for Pigeon from our server CODESYS_PIGEON_1.0.0.0.package or CODESYS Store
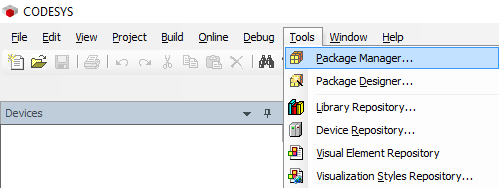
Then open CODESYS Development System. Select Tools → Package Manager
click Install button and select CODESYS Control for Raspberry Pi package.
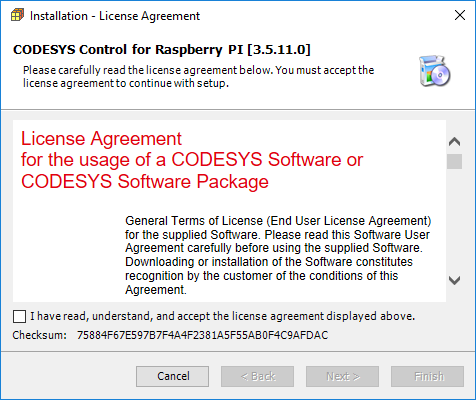
then accept the license agreement and all defaults.
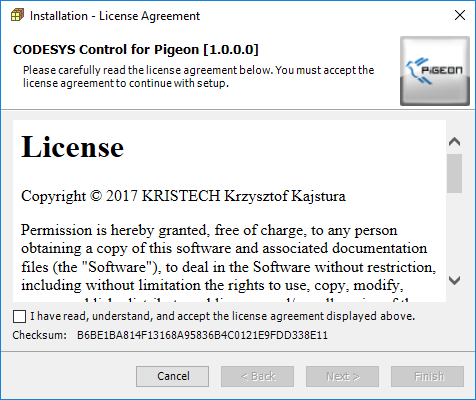
Next, install CODESYS Control for Pigeon package as above. CODESYS Control for Pigeon package is free.
Restart the CODESYS Development System.
4. Installing CODESYS Runtime on the Pigeon
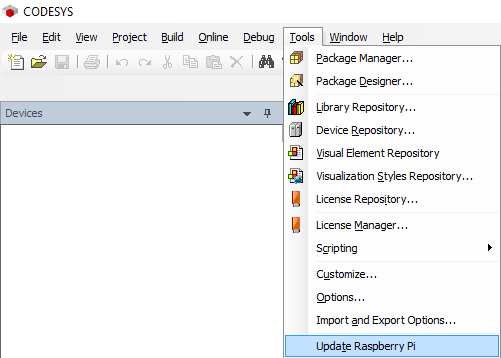
First, you have to enable SSH server on Pigeon. To do this in Pigeon console run raspi-config, select Interfacing Options → SSH then select Yes. Reboot the Pigeon. In CODESYS Development System select Tools then Update Raspberry Pi, enter username and password (default: pi/raspberry).
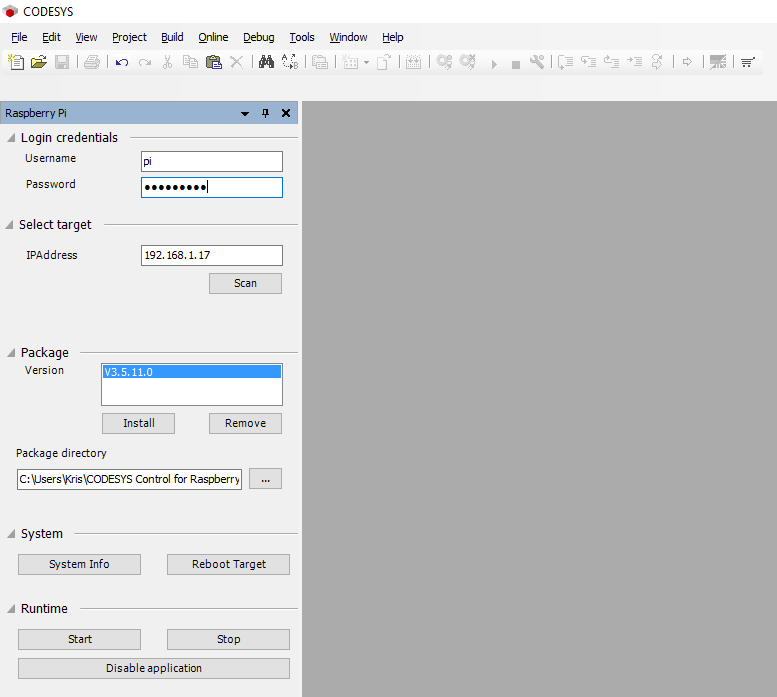
Enter the IP address of your Pigeon (you can check it using ifconfig command in console) and click Install. Reboot the Pigeon.
That's all. We are ready to create and load the first project.
5. First project
In CODESYS Development System, select File then New Project… and in the Projects category choose Pigeon RB100 project or Pigeon RB300 project depending on devices you are using.
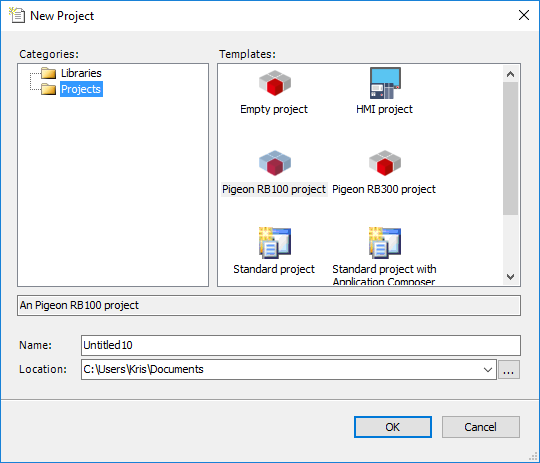
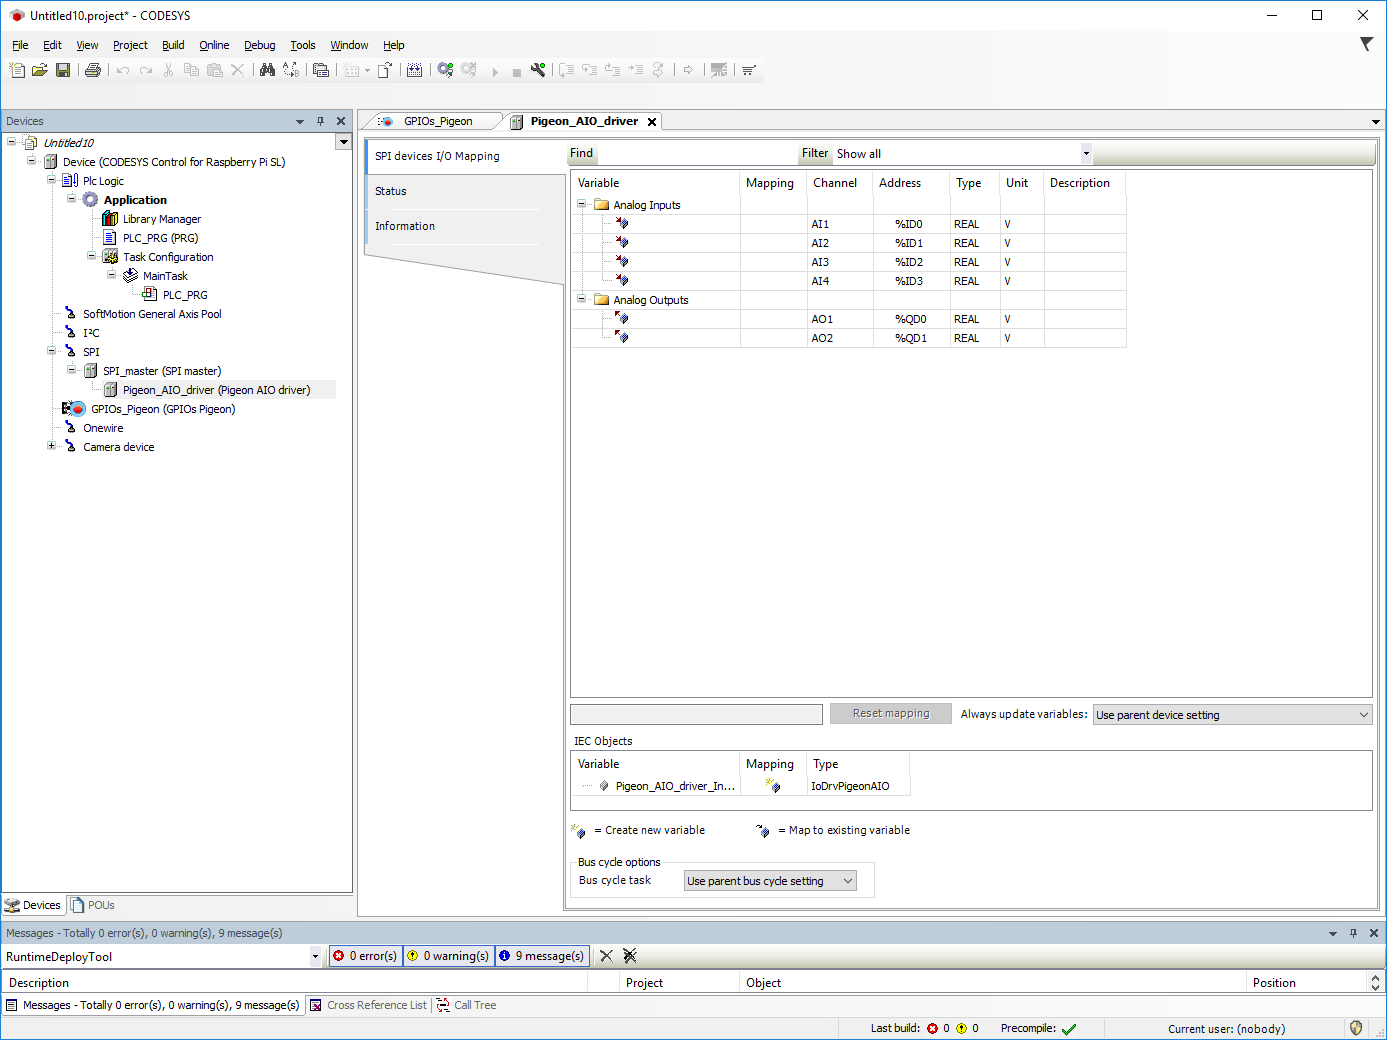
The new project will be created. Below you can see print screens RB300 template project.

6. Example projects
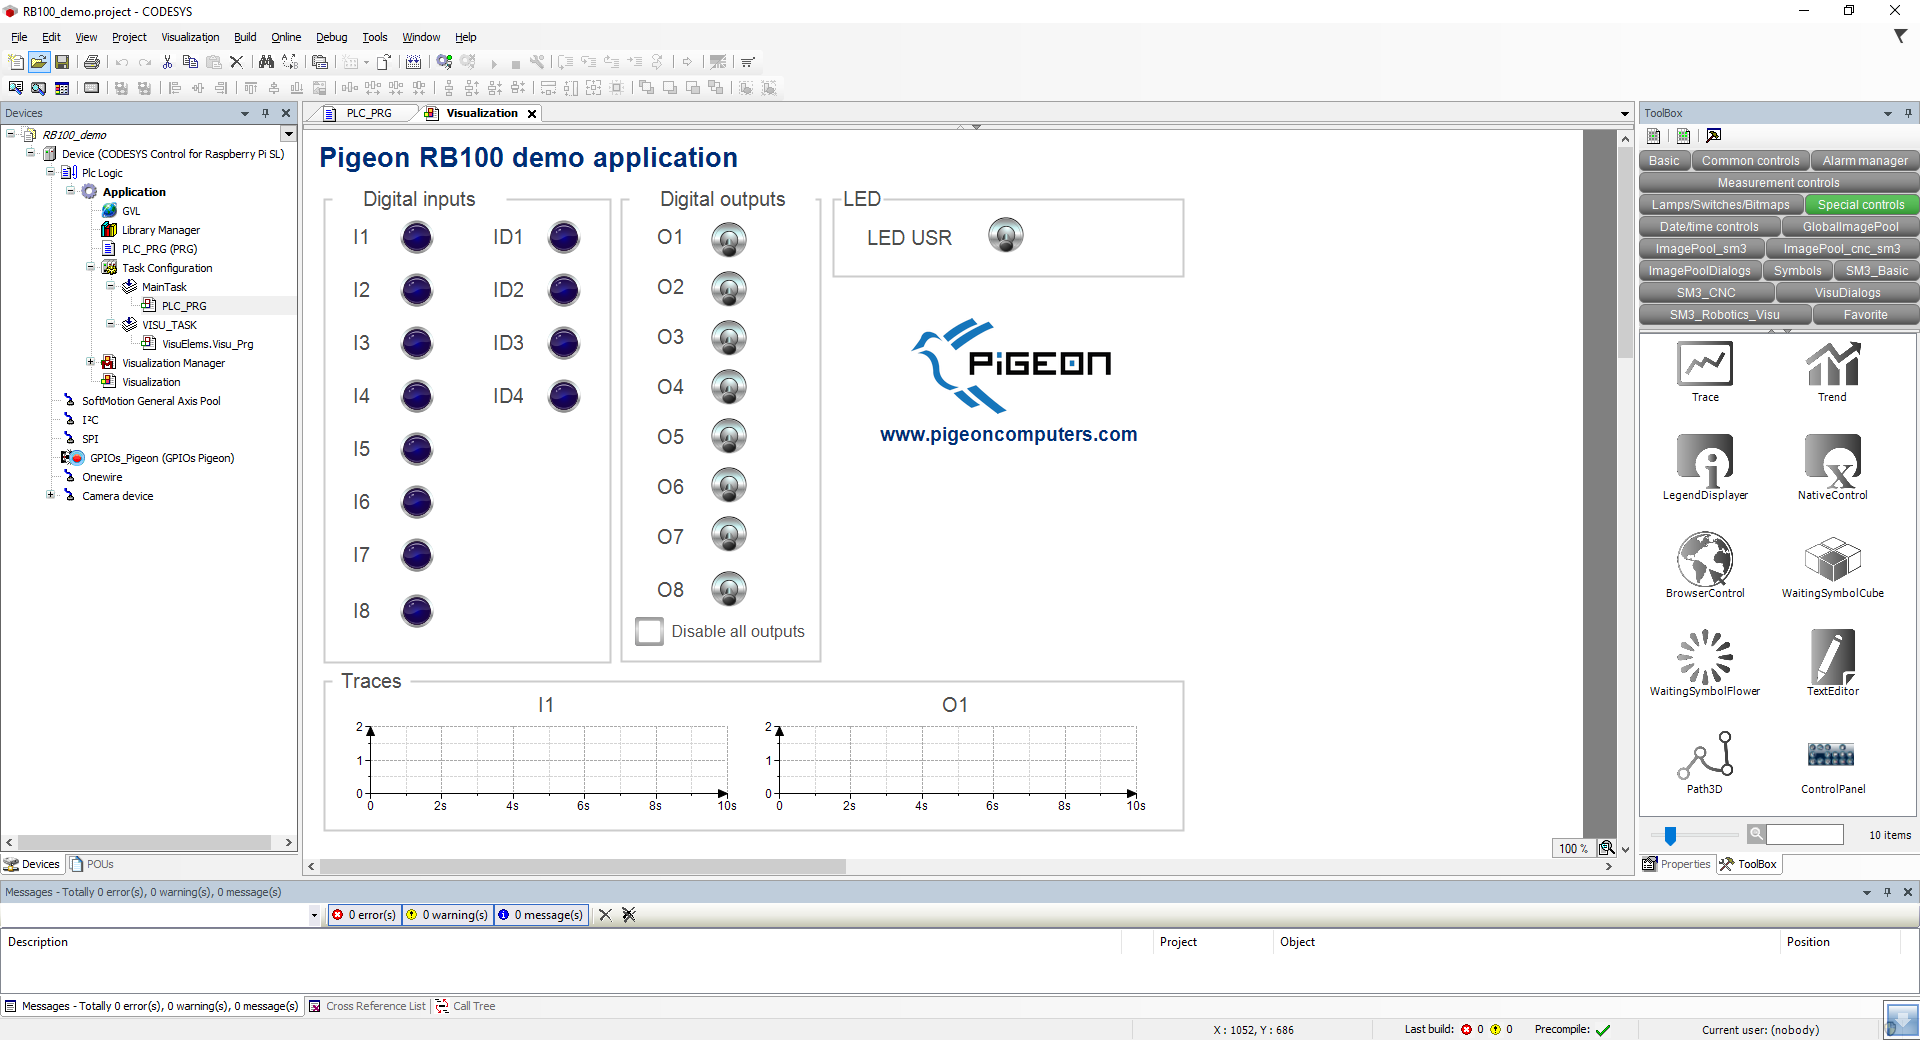
The CODESYS Control for Pigeon package contains also example projects for RB100 and RB300. Default directory of this project is C:\Users[User Name]\CODESYS Control for Pigeon\1.0.0.0\Examples. To open project select File then Open Project...
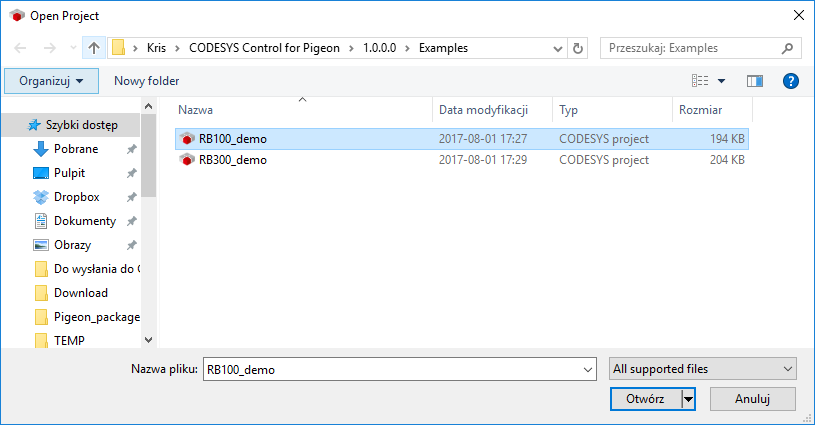
The following images show print screenshots of the example projects.

7. Download project to the Pigeon
In CODESYS Development System, click on Device
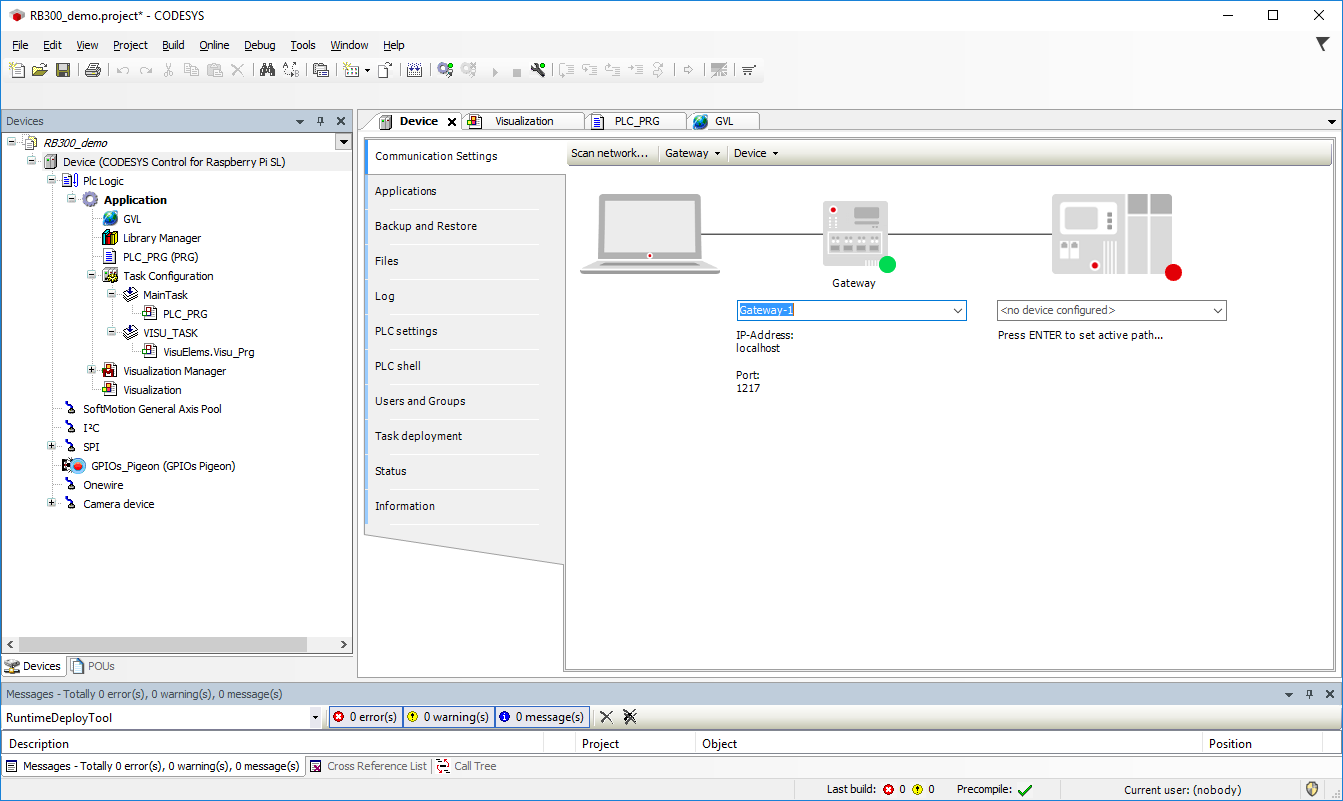
Click Scan Network. Pigeon should be detected.
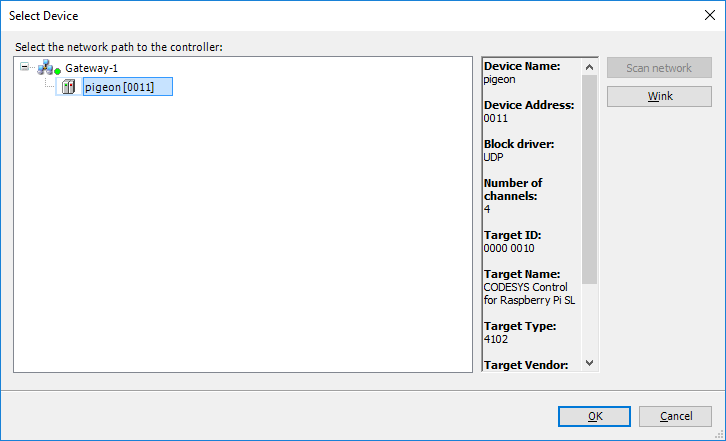
Select it and click OK.
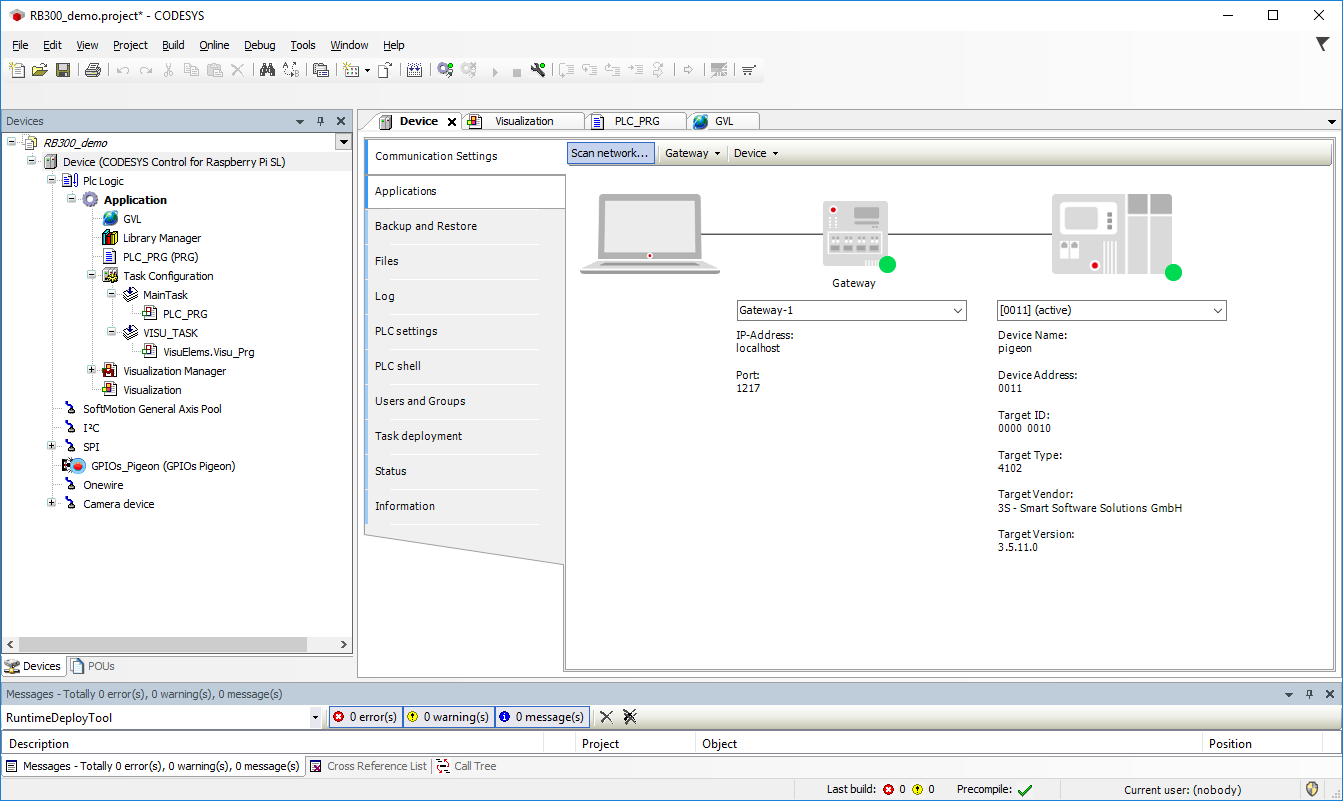
You can also put the IP address of Pigeon directly.

Then click Online → Login and next Debug → Start.
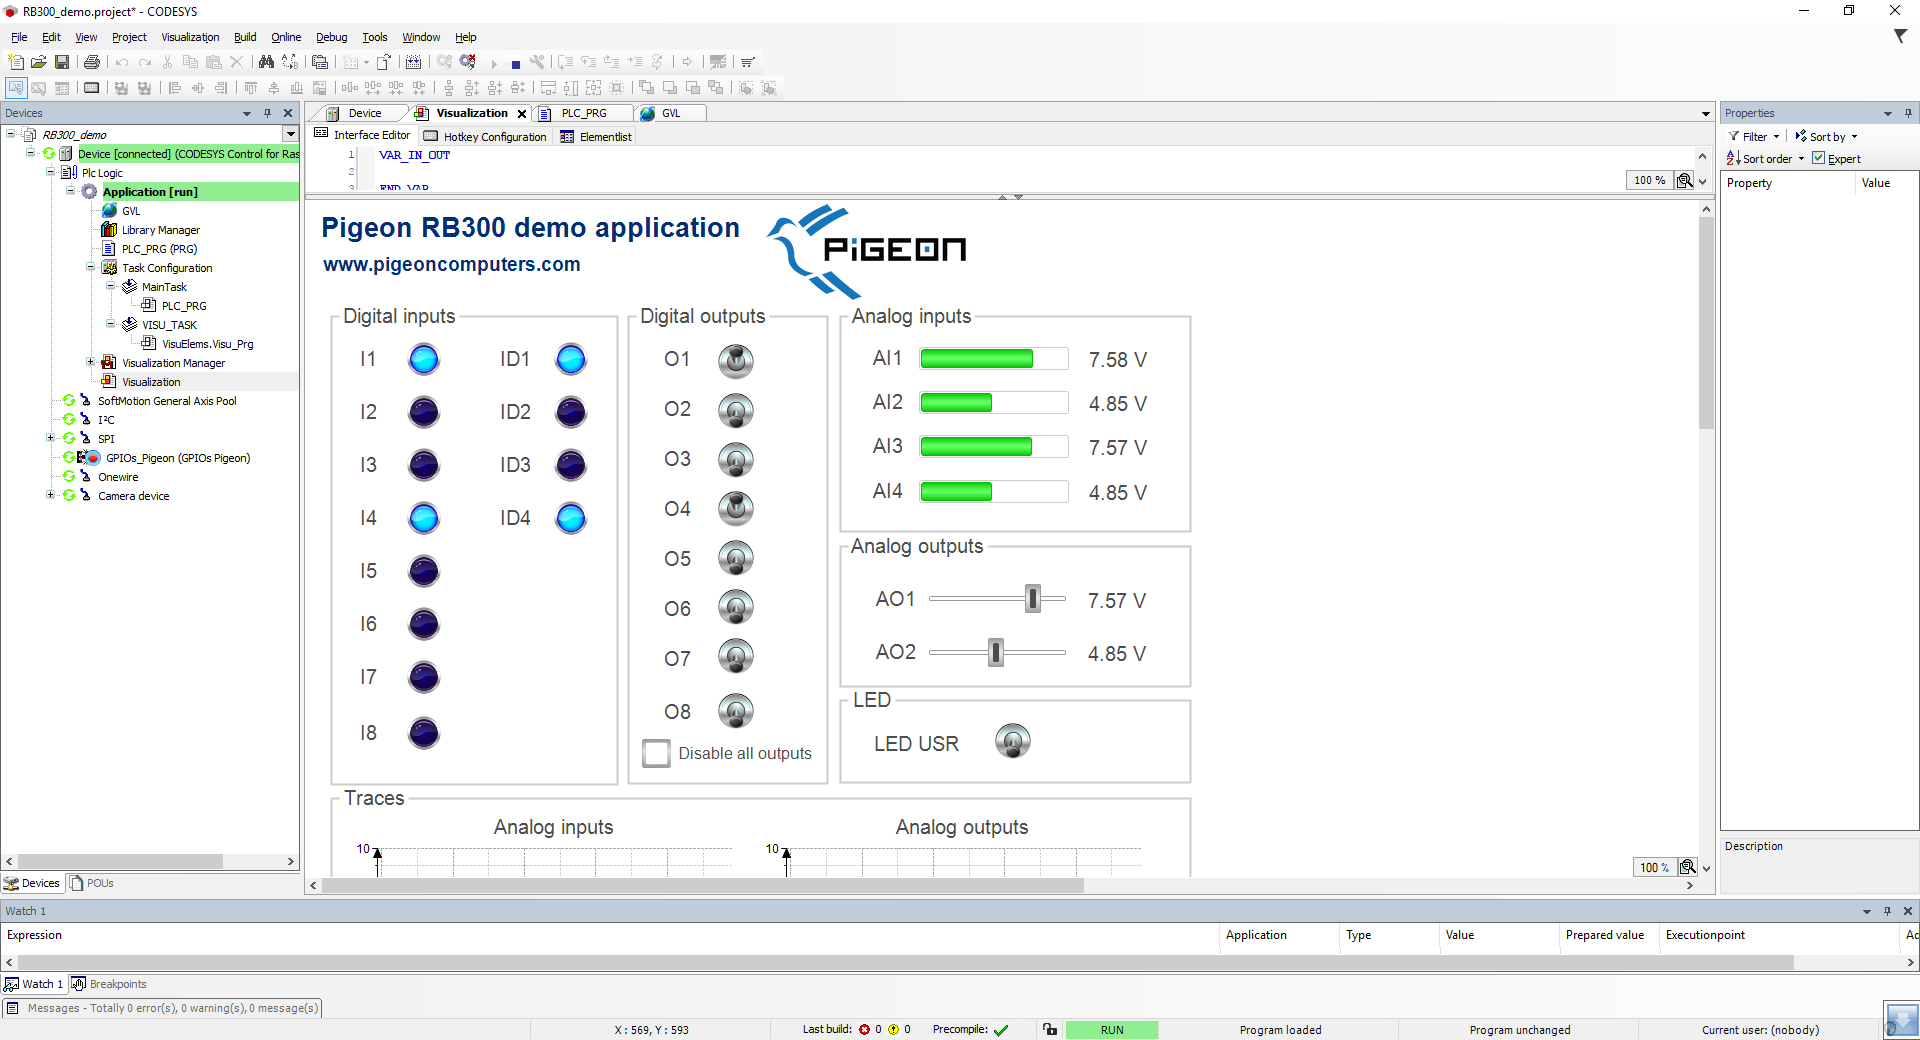
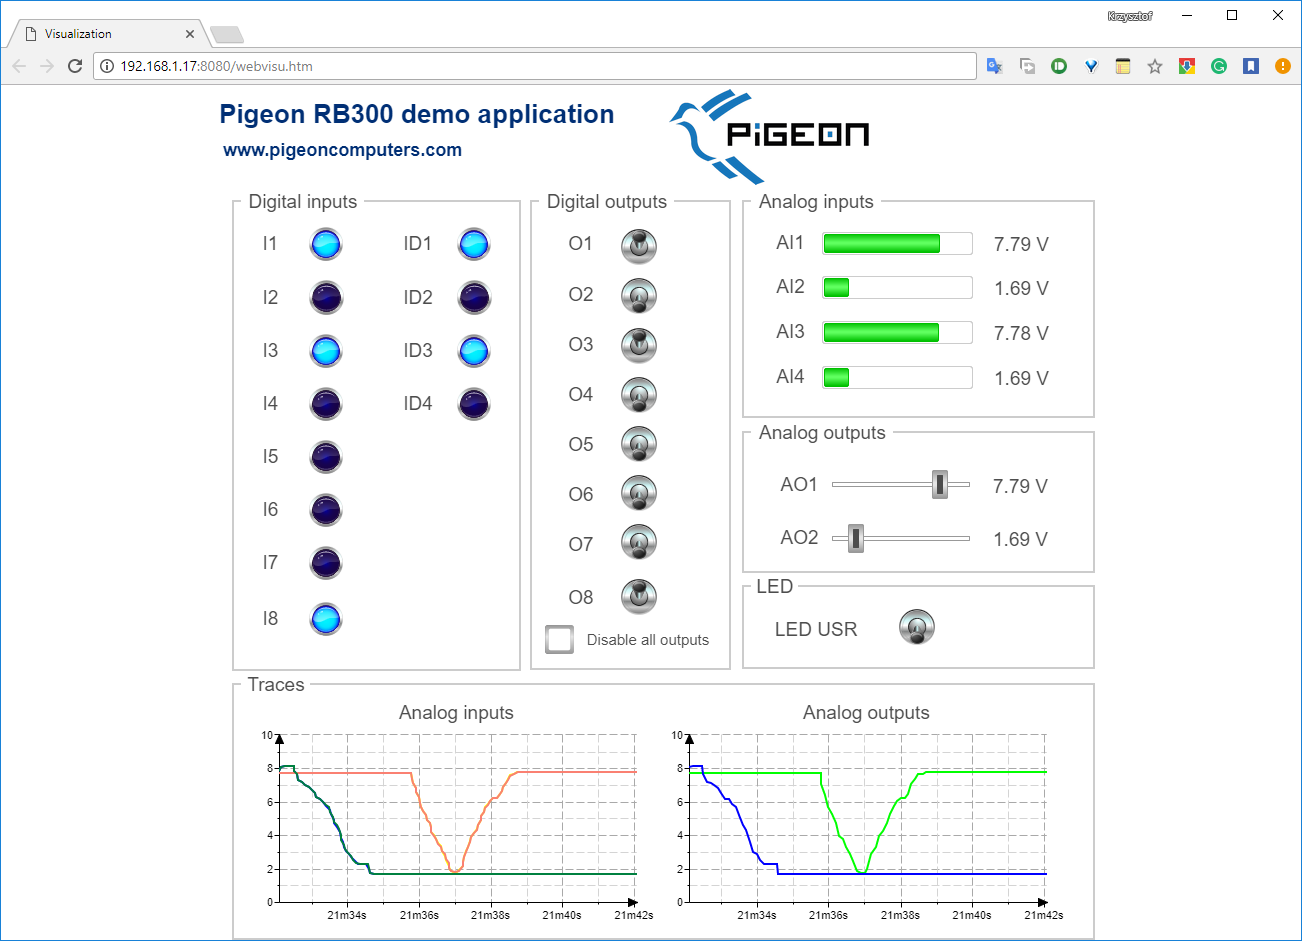
You can open a web browser and enter the IP address of your Pigeon and port 8080, for example 192.168.1.17:8080. You will see the following page.
8. Update to the newest version
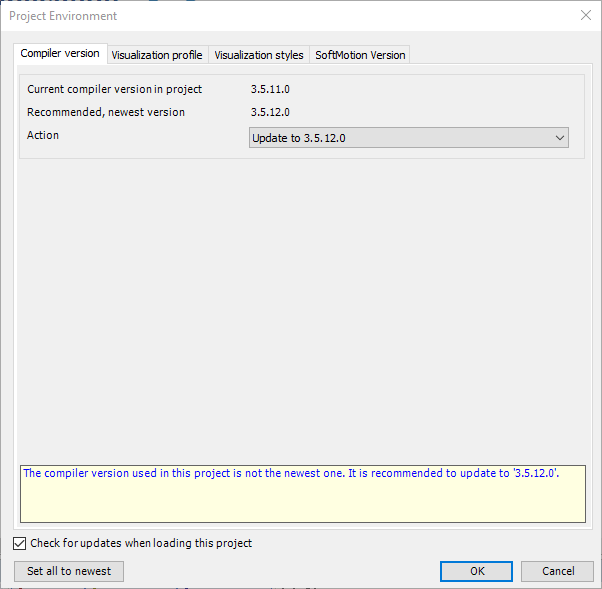
If your compiler version is newer than the current compiler version in the project, when opening example project select options similar to below.
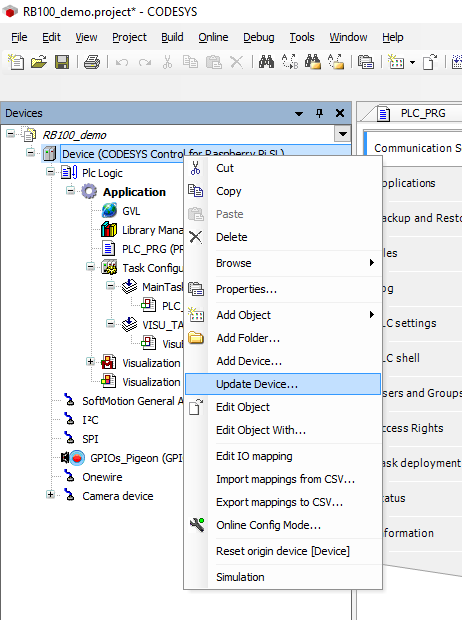
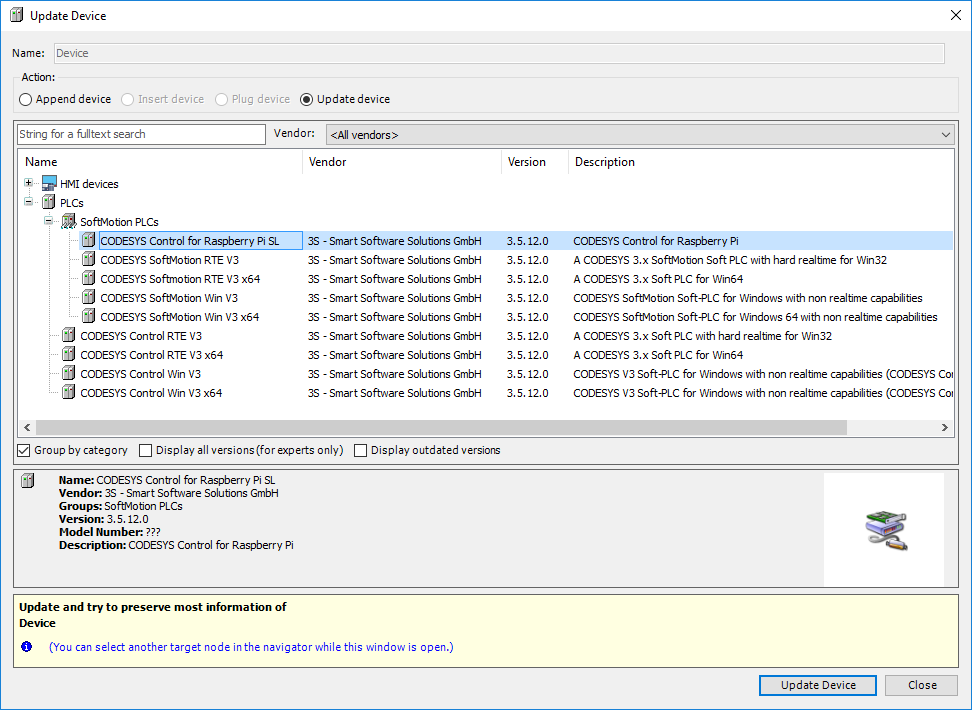
Then update the device version of the project to the newest.
Comments are closed.